Last year we change the position of the fence and ended up with a lot of fence panels that were not in the best shape. A lot of them were just rotting in the dirt and some were so weathered, I wondered how much life we could really get out of them. We stacked them into the backyard for the "just in case..." (aka, junk collection that probably will never have anything happen...)
After seeing the old panels sitting there doing nothing for so long, I have finally challenged myself with the task of finding useful purposes for these panels. So instead of tossing them out, I am now actively trying to find things for them to become.
Special note: I have found that the old fence panels are very similar to old pallet wood.
This post is all about my first creation from this wood: a beachy picture frame for a beautiful watercolor painting of Nubble Light House in Cape Neddick, ME.
I simply created mitered corners and pieced the fence panels in the arrangement of a square. Then I stapled the corners together from the backside and reinforced with small pieces of scrap wood.
The wood was dry brushed with a little bit of white paint and then sanded it to give the wood the look of old bleached out driftwood.
I sealed the wood with a rub on sealant.
Lastly, the frame was decorated with old rope that I tied into knots, sea glass (from a broken votive holder, I tumbled the glass in a rock tumber), sea shells and beach pebbles (that we actually picked up in York, ME), and a few small pieces of drift wood. All of these were attached with hot glue.
This was the perfect addition to the foyer. We had started a beach vignette, but it was always missing something. Now it looks complete!
This area was based around an Sam's Grandmother's antique cabinet. I like the way the vase on the floor has a beach scene with the lighthouse and then the glass vase on the cabinet draws your eye upwards with the driftwood pointing up to the newly framed painting!
Friday, February 21, 2014
Wednesday, February 5, 2014
Passionflower TRRRellis!
OK... So let me start with the "I'm sorry." Keeping this blog up to date has been a task for me. Once I got behind, it seemed daunting to get back on to make updates. Now that I am started again, I'll keep it going :-)
Recently we found ourselves in need of space in the garage and have been going on a spree of get rid of it or at least find a use. By far, my favorite project so far that has come of this: the pair of trellises by the pool. Take a look!
So this is a Triple-R project: Reduce, Reuse, Recycle. We reduced landfill waste, reused some pieces, and recycled by repurposing.
"How?!" You may be asking. (If not, just stick with me...)
There were two old Queen Size mattresses in the garage! We stripped the material off the mattresses down to the springs. Although we did not keep the fabric, we did reuse some of the underlayment as a weedbarrier in the garden (works great!) and we found that the springs made a wonderful trellis.
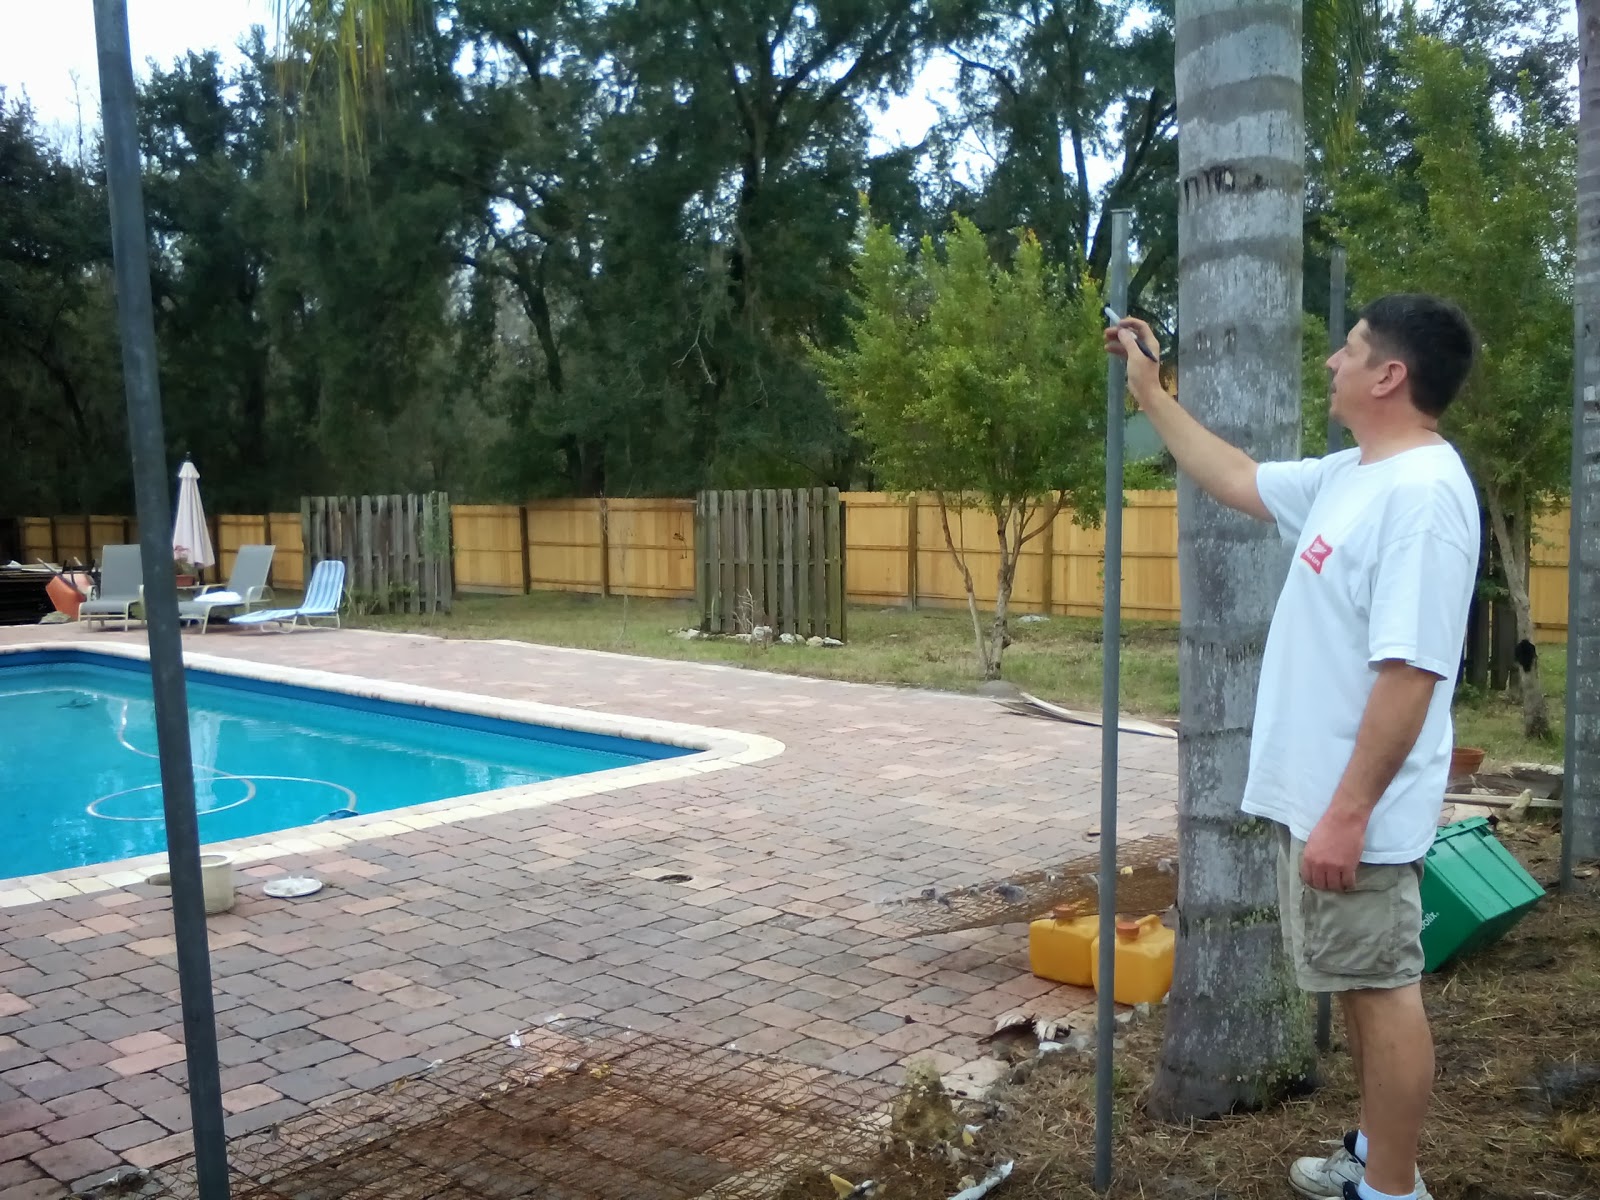
First we set the galvanized poles from an old chain-link fence with a sledge hammer. We literally pounded them into the soft sand several feet in. Once they were in, Sam marked the poles of where the springs would be attached.
Then we drilled into the pipes where it was marked.
And VOILA! a trellis was built!
We built two in between our palms by the pool to create a natural screen of vines. On the left, we have planted two varieties of passionflower: a purple and a red. And it looks like they are enjoying the weather already!
We hope to have something else planted on the right one soon. More updates to follow soon!
Recently we found ourselves in need of space in the garage and have been going on a spree of get rid of it or at least find a use. By far, my favorite project so far that has come of this: the pair of trellises by the pool. Take a look!
So this is a Triple-R project: Reduce, Reuse, Recycle. We reduced landfill waste, reused some pieces, and recycled by repurposing.
"How?!" You may be asking. (If not, just stick with me...)
There were two old Queen Size mattresses in the garage! We stripped the material off the mattresses down to the springs. Although we did not keep the fabric, we did reuse some of the underlayment as a weedbarrier in the garden (works great!) and we found that the springs made a wonderful trellis.
First we set the galvanized poles from an old chain-link fence with a sledge hammer. We literally pounded them into the soft sand several feet in. Once they were in, Sam marked the poles of where the springs would be attached.
Then we drilled into the pipes where it was marked.
The mattress springs were then wired to the post through the drilled holes.
After the springs were attached, Any remaining bits of fabric were cleaned off the frame with a razor blade.
And VOILA! a trellis was built!
We built two in between our palms by the pool to create a natural screen of vines. On the left, we have planted two varieties of passionflower: a purple and a red. And it looks like they are enjoying the weather already!
We hope to have something else planted on the right one soon. More updates to follow soon!
Saturday, May 11, 2013
Doing Something Right?
It's so exciting to see the development of our yard. When we moved in, it was just a barren weeded lot with a tree out front. One by one, we've brought in young trees and moved fences, and pulled out vines along our property line, and planted plants.
As the property has morphed, we've started to see an increase in wildlife.
Recently, we've seen an increase in wildlife - I only wish I had a camera ready to go more often! Sam saw turkeys one afternoon. A few nights ago, we had three deer running across the yard. And since spring is in full bloom, we have seen an emergence of all kinds of birds including: cardinals, wrens, mockingbirds, mourning doves, ground doves, woodpeckers, crows, ravens, guinea hens, and more.
It's nice to know that we are creating a landscape that is nice to look at, but also welcoming so much of nature.
As the property has morphed, we've started to see an increase in wildlife.
 |
| River Otter |
 |
| Red Tailed Hawk |
 |
| Spider (sunbathing in the pool) |
 |
| Turtle |
It's nice to know that we are creating a landscape that is nice to look at, but also welcoming so much of nature.
Sunday, May 5, 2013
Raised Vegetable Garden
Finally... I know...
It's been a while since my last update.
Sam and I created our raised bed vegetable garden using old 4X4s instead of tossing them to the curb! Think it turned out pretty nice - what do you think?!
It's been a while since my last update.
Sam and I created our raised bed vegetable garden using old 4X4s instead of tossing them to the curb! Think it turned out pretty nice - what do you think?!
Tuesday, December 25, 2012
Christmas 2012
Phase 1:
Start with the icicles on the roof.
Phase 2:
Columns, Front Porch, Candy Cane Walkway, Reindeer, Santa Train, and Penguin sled.

Phase 3:
Add Greenery
 |
| Large Wreath |
 |
| OK - VERY large wreath. Just over 4 feet! |
 |
| A Fresh garland bough over the front door. |
 |
| Sprigs for the front. |
 |
| One for each of the front shutters. |
Phase 4:
MORE lights!
 |
| Spotlight for the penguin sled. |
 |
| Lights along the fences to the left and right. |
 |
| Even pretty during the daytime! |
Phase 5: Final phase
Sam's gift
Thursday, December 6, 2012
Fort Christmas Dragonfly
Last weekend Sam and I went to Fort Christmas with our neighbor. They had their annual craft fair on Saturday and Sunday.
The best part of these fairs is all of the wonderful local crafts. We didn't spend a lot of money, but we did bring home one thing - a plaster cast welcome sign. It was plain plaster with a clear sealant on it.
I spent the last few days detailing it out and made it pop out of the plaster and come to life! The dragonfly has an amazing iridescent shimmer that makes the dragonfly look alive!
Hope you enjoy! And it will soon be placed by the front door for everyone to enjoy when they arrive at the front door.
Saturday, December 1, 2012
Merry Christmas
After a brief hiatus, I am coming back to my blog :-)
More to come again soon - promise. In the mean time, the holiday spirit is starting to kick in! Merry Christmas!!!
More to come again soon - promise. In the mean time, the holiday spirit is starting to kick in! Merry Christmas!!!
Subscribe to:
Posts (Atom)


